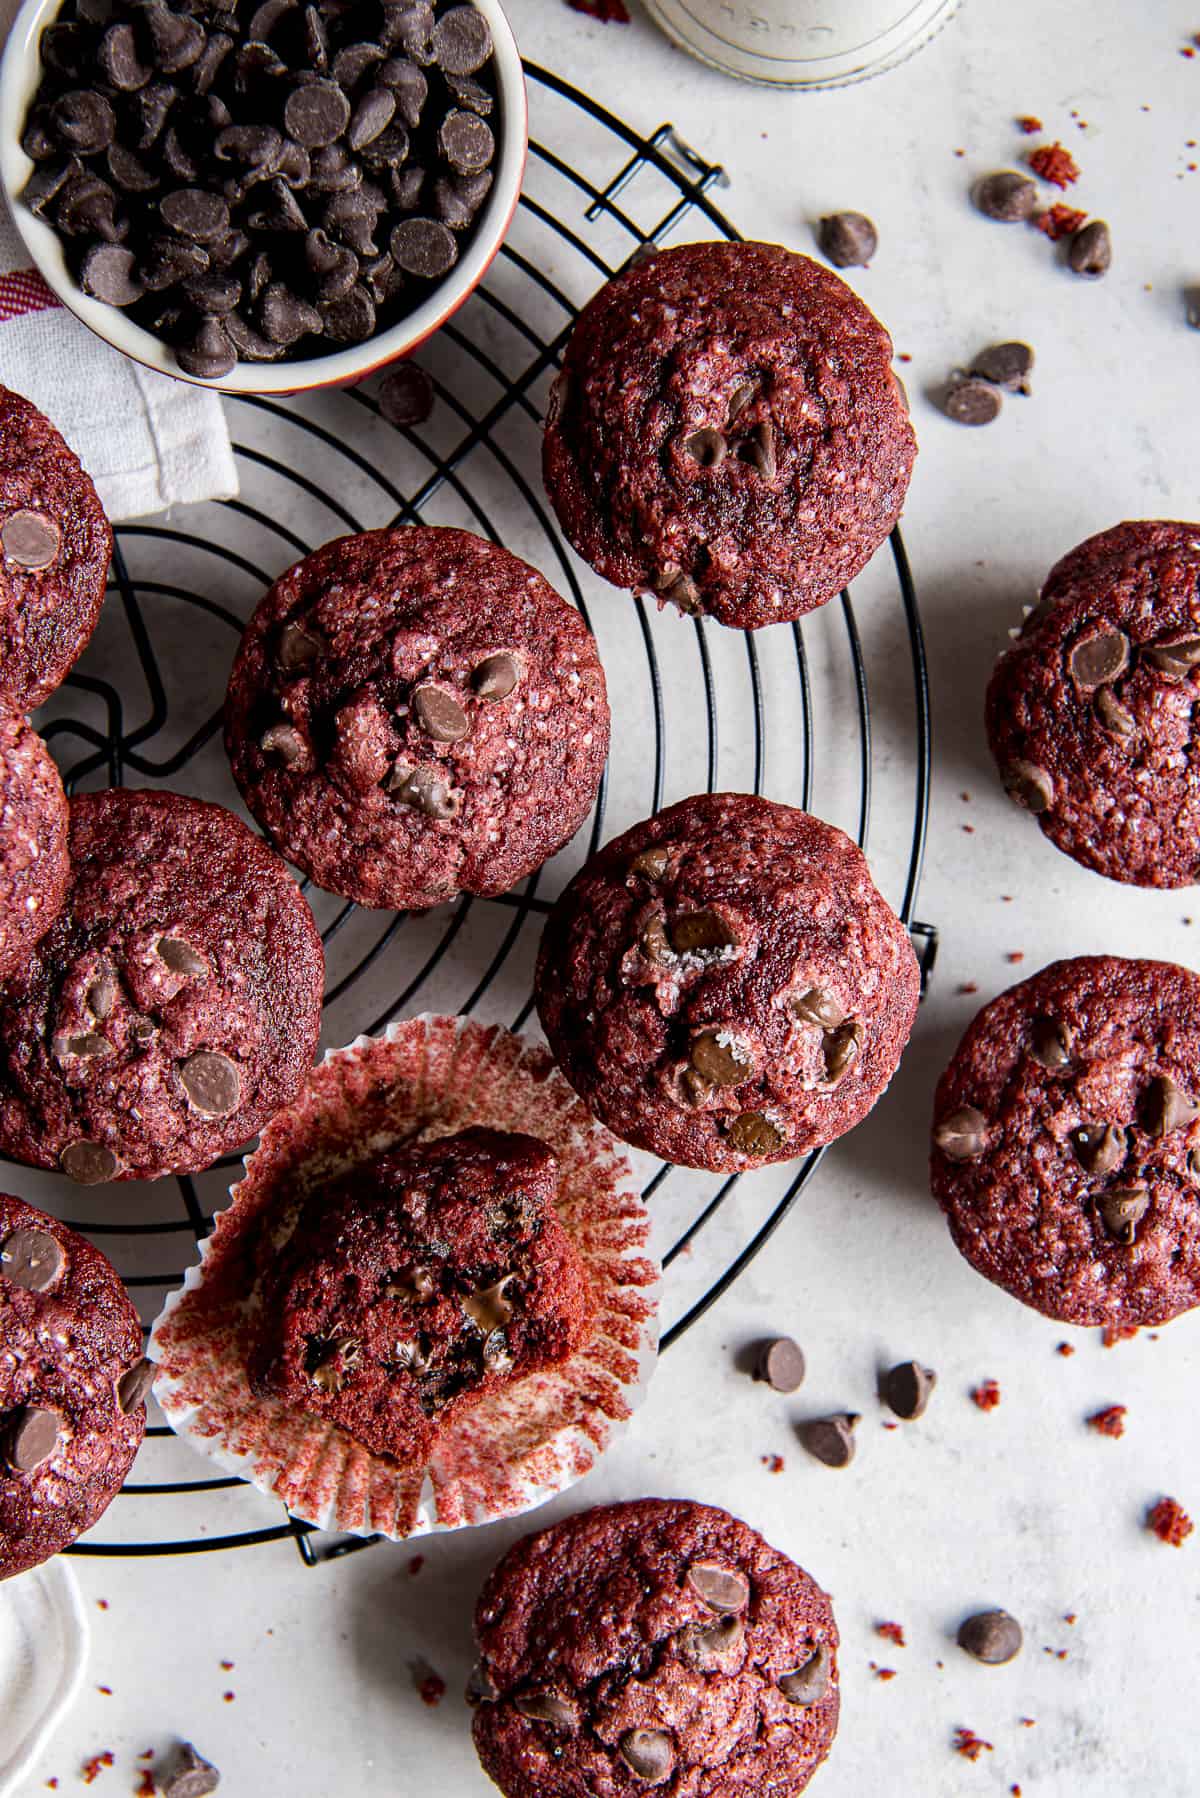
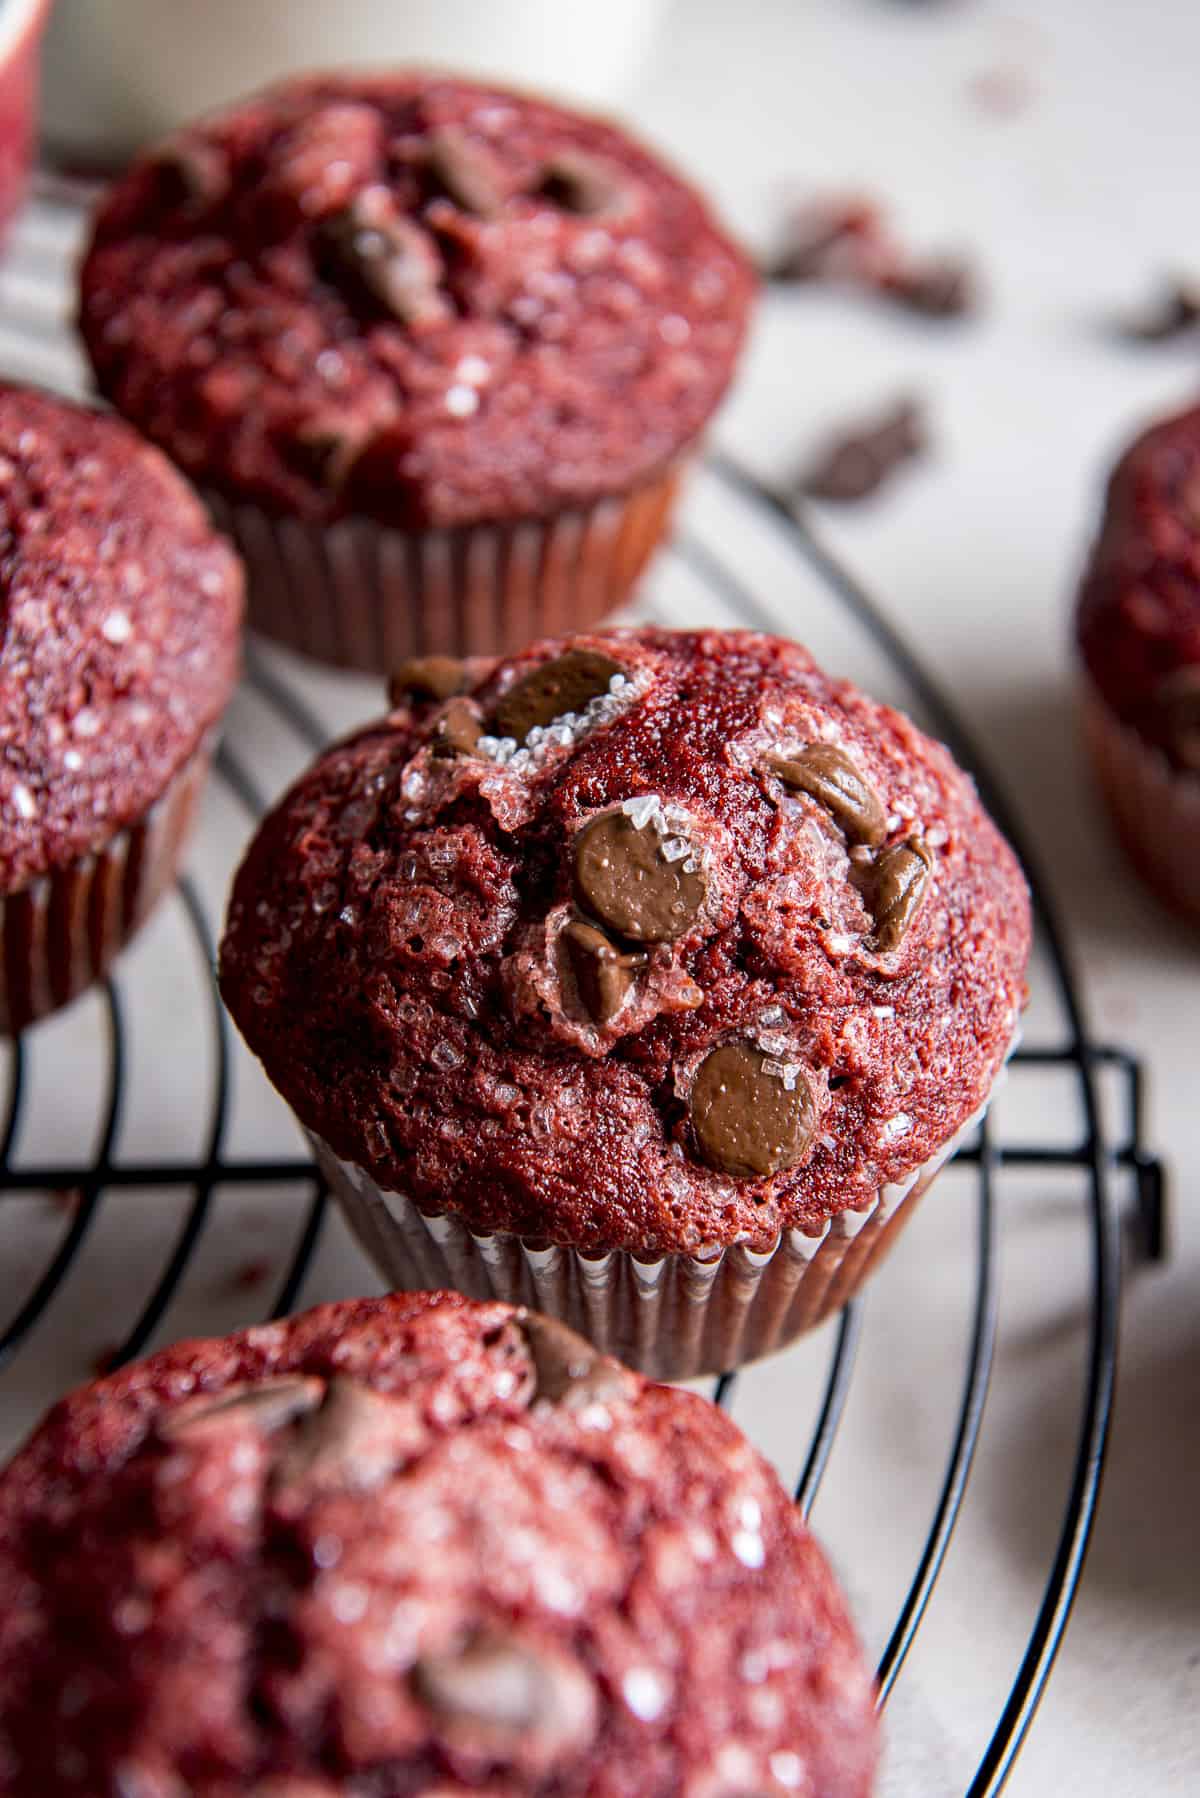
Enjoy your favorite cupcake for breakfast by swapping the frosting for melty chocolate chips in these moist and fluffy Red Velvet Muffins!
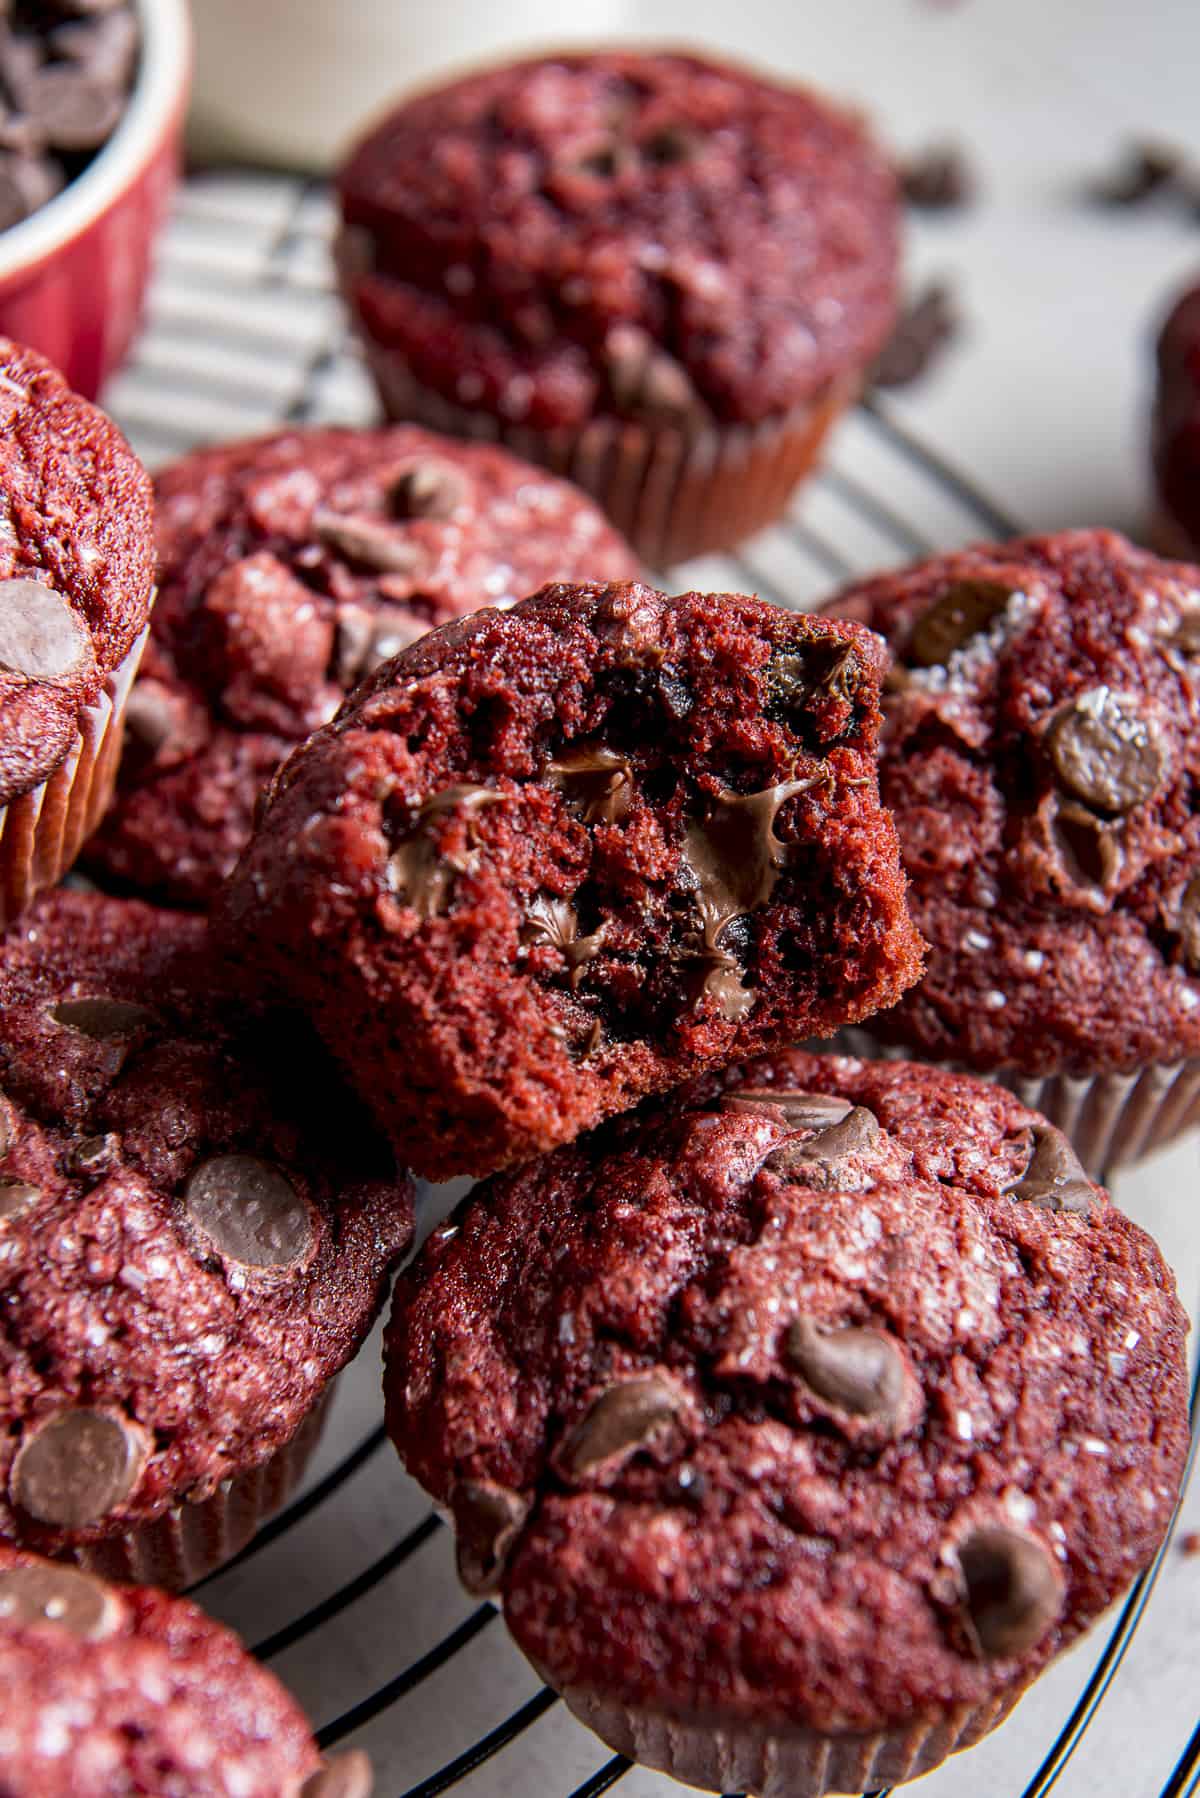
Raise your hand if you’ve ever snuck a leftover cupcake for breakfast.
Sometimes you just can’t help it! The allure of cake and coffee is just too strong sometimes. Especially on those mornings where you wish you had a muffin instead.
Imagine: your favorite latte paired with a chocolate chip-stuffed red velvet cupcake, minus the decadent cream cheese your used to. That’s exactly what these muffins are!
This page includes step by step instructions, as well as tips and notes. If you’d like to skip all that, feel free to scroll down to the full, printable recipe card at the bottom of the post.
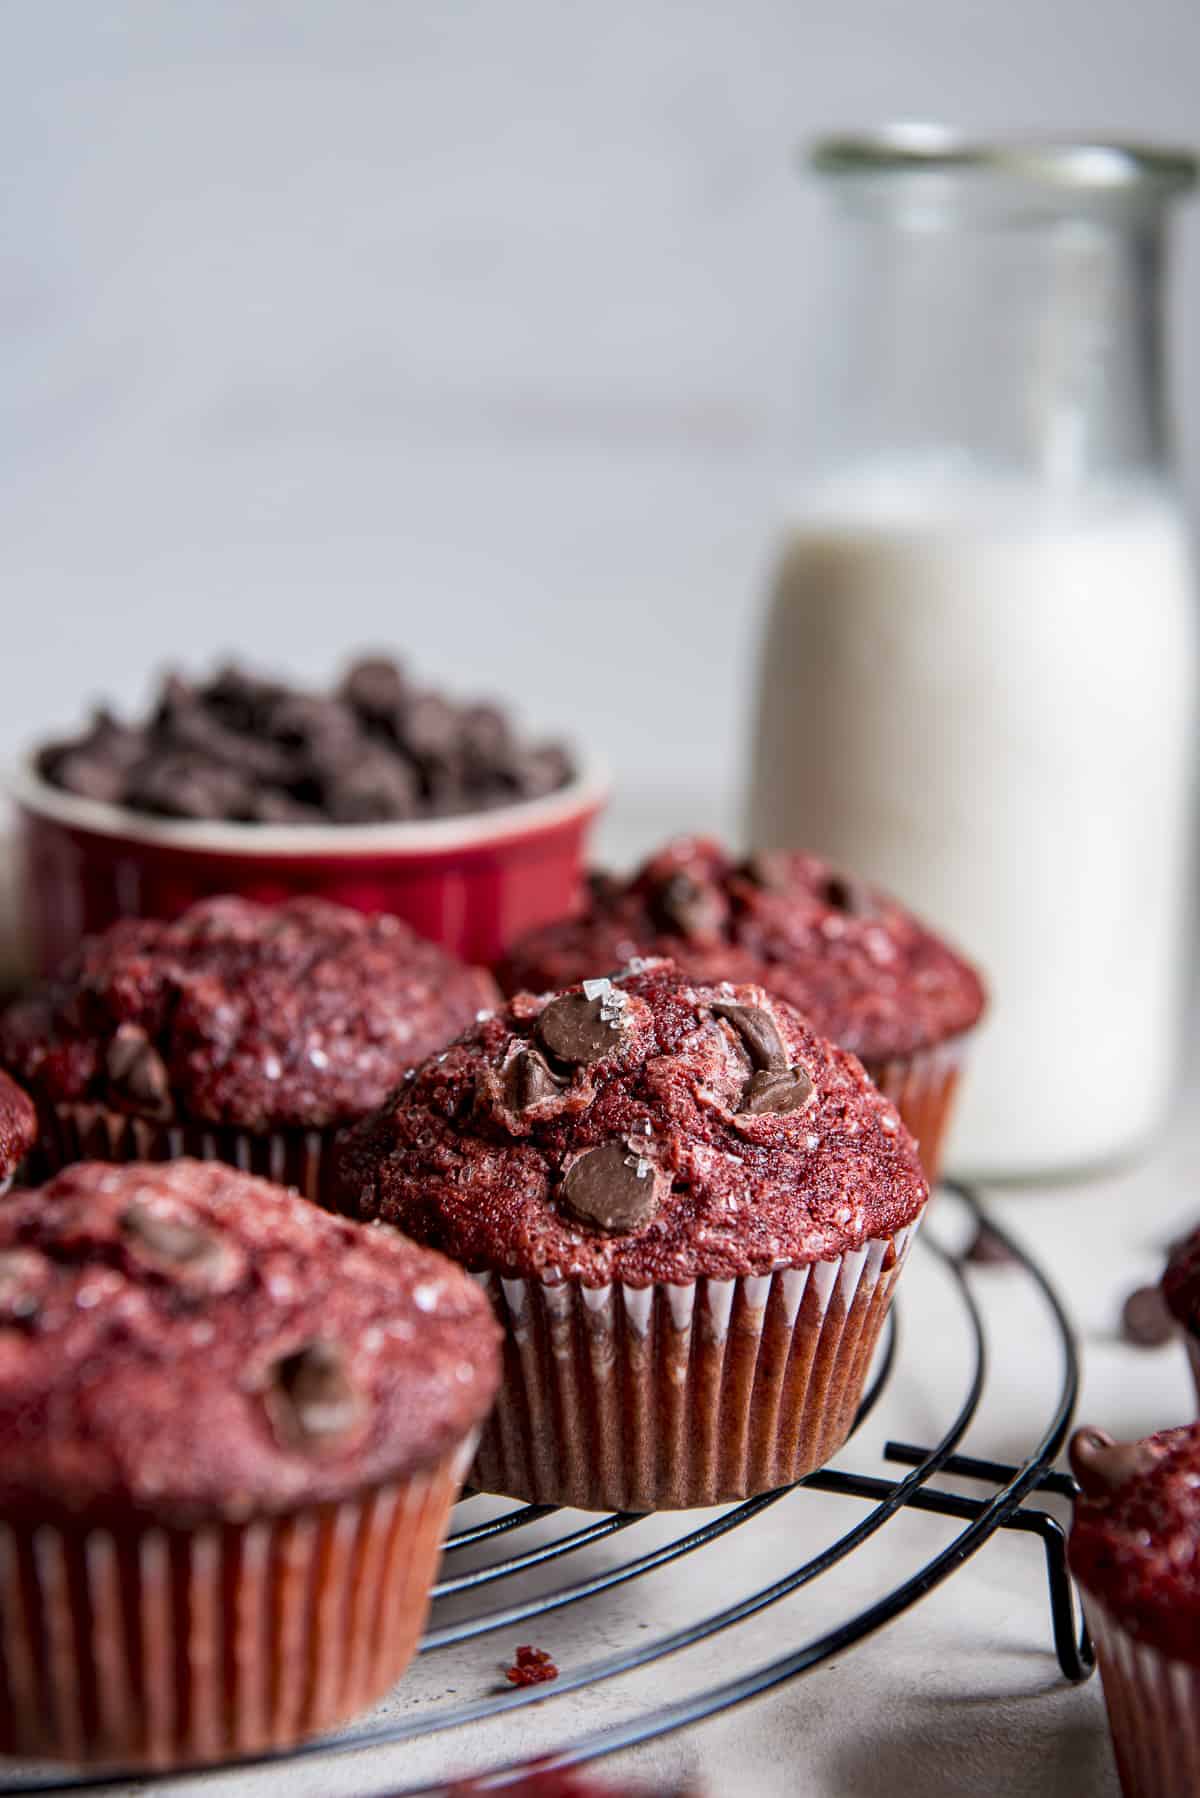
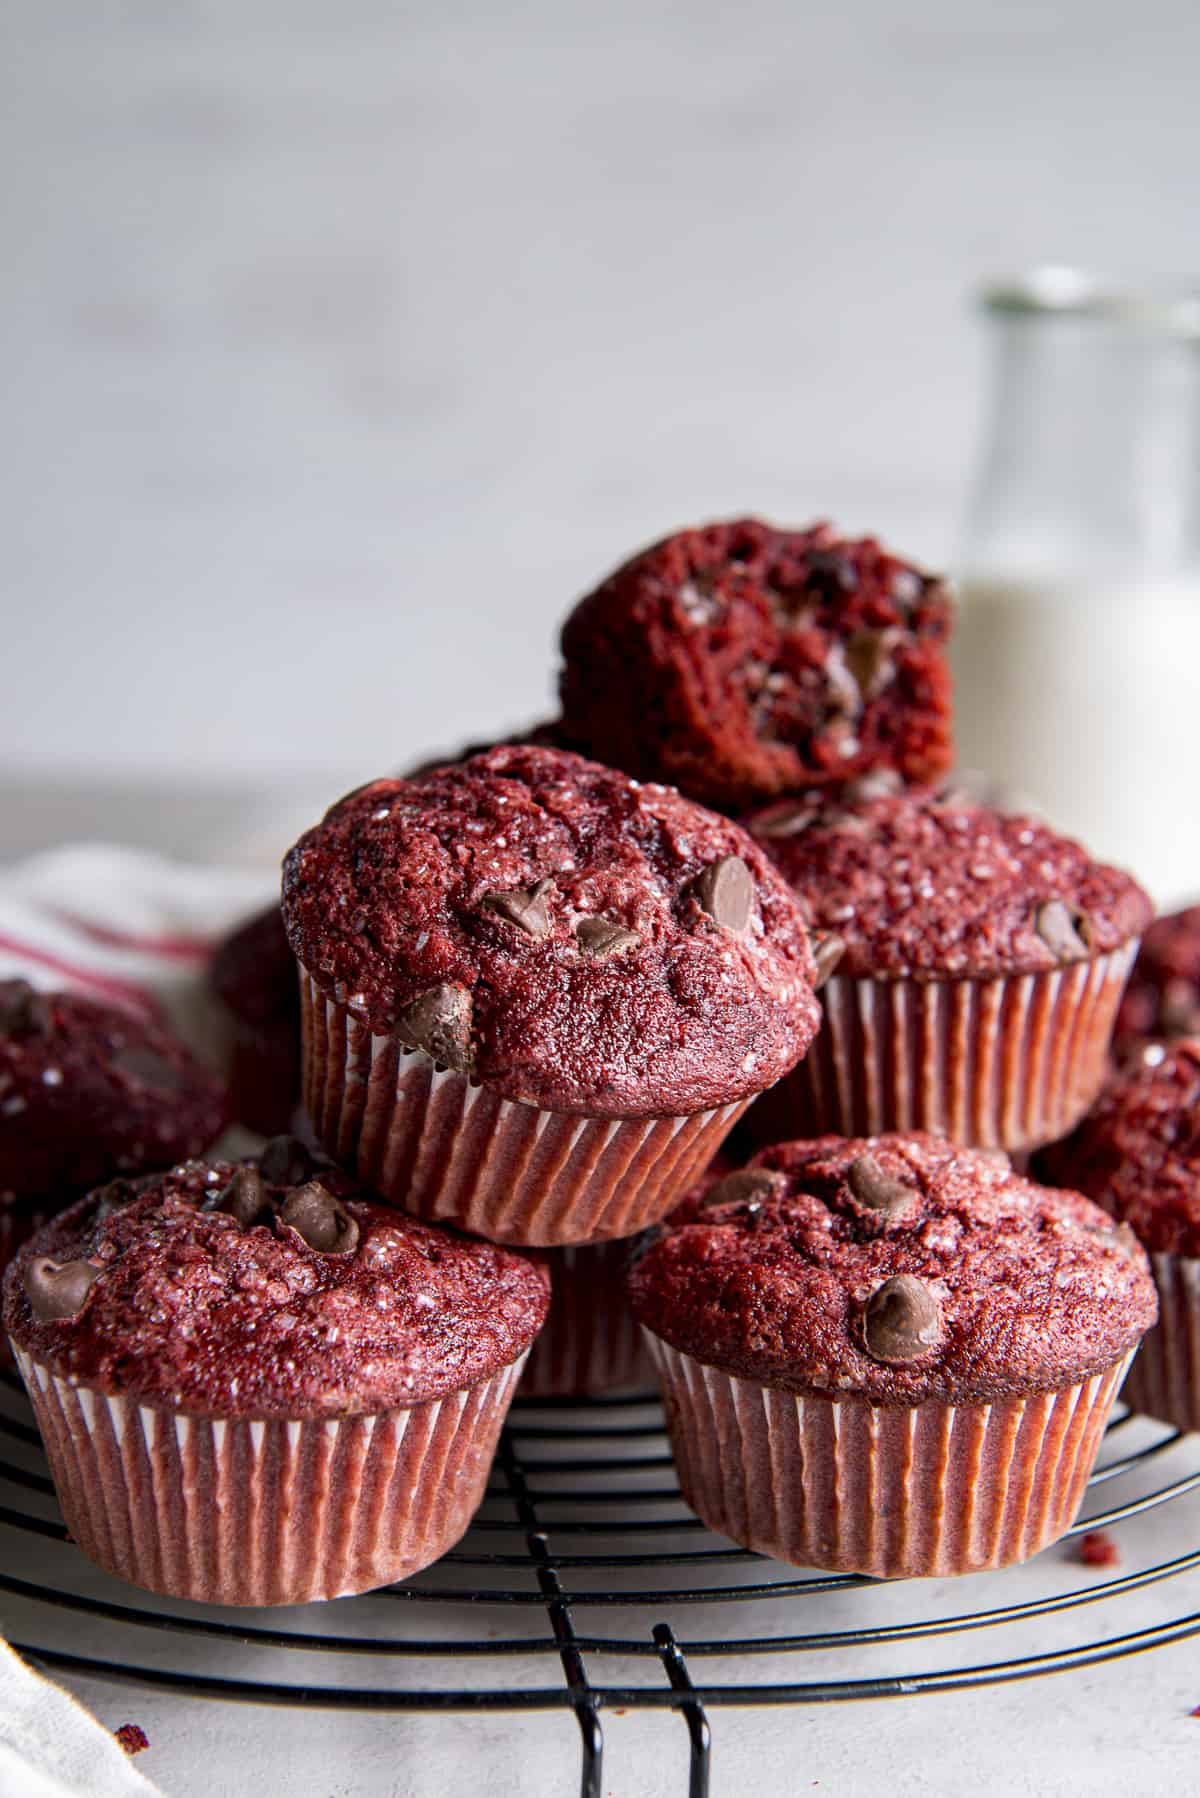
There’s something captivating about the deep red hue and velvety texture of red velvet desserts. With a hint of cocoa and a rich, moist crumb, red velvet treats have a way of making any occasion feel extra special.
From birthdays and holidays to brunches and tea parties, a red velvet muffin is versatile enough to be enjoyed at any time of the day.
What is the deal with red velvet cake?
Red velvet is a type of cake (or other dessert) known for its deep red color and velvety texture.
Flavorwise, it is a blend of vanilla and cocoa. It has a moist crumb, and is often paired with a cream cheese frosting.
Traditionally, the chemical reaction of the acid in the buttermilk with the added cocoa powder is what gave this dessert its “red” name. Bakers tend to add food coloring in modern times to amp up the color. Ultimately, it is your choice to use it or not.
Red velvet desserts are known for their rich and unique taste. They’re a popular choice for holidays like Christmas, Valentine’s Day, Independence Day (in the US), as well as other special occasions.
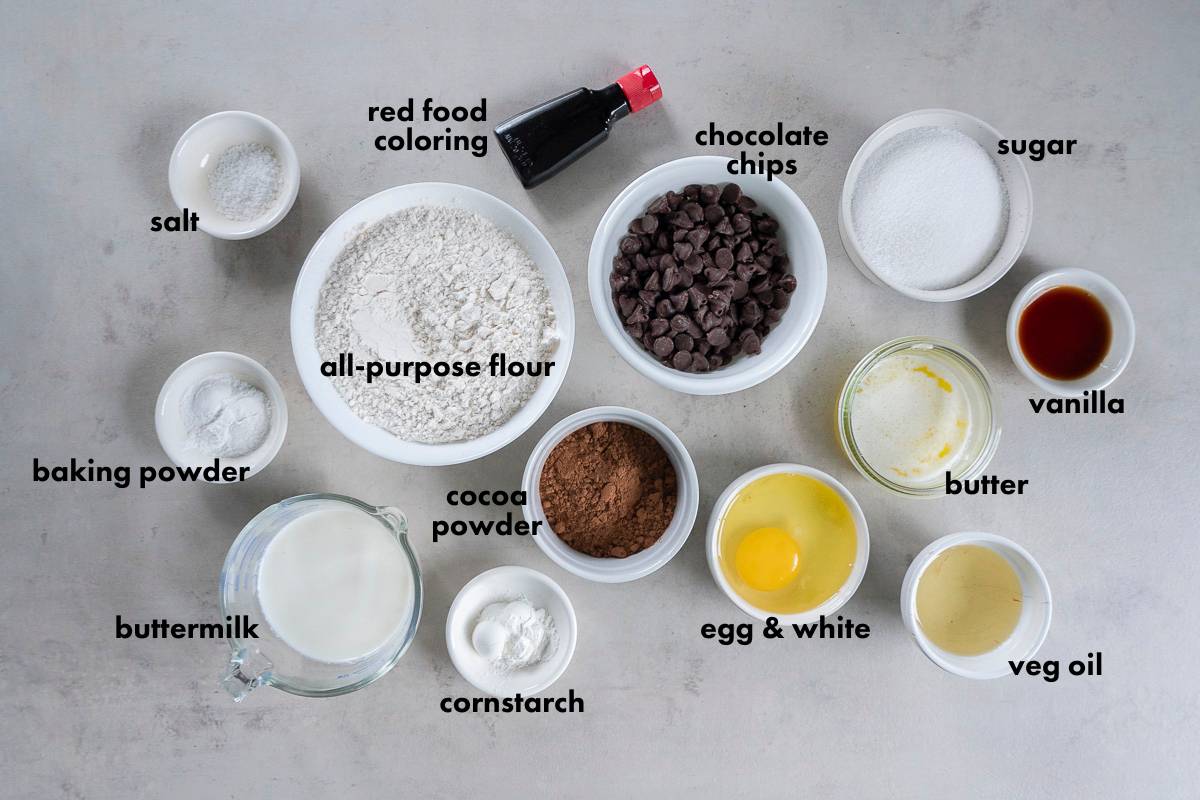
Ingredients
- All-purpose flour – you can also use whole wheat or a 1:1 gluten-free flour here.
- Cocoa powder –
- Buttermilk – bring it to room temperature before baking.
- Unsalted butter – melted and slightly cooled to mimic oil.
- Vegetable oil – I used both oil and butter to give these muffins more of a moist, cupcake-like texture, but you can use one or the other with great results.
- Granulated sugar
- Large eggs – a whole one and a white, for a little extra body. Make sure they’re room temperature before beginning!
- Vanilla extract
- Baking powder
- Cornstarch – my secret weapon for creating super fluffy, light muffins!
- Salt
- Red food coloring – optional, but use it for maximum color.
- Chocolate chips – these are actually completely optional. Feel free to keep these muffins purely red velvet if you’d like.
For exact ingredient measurements and recipe instructions, scroll down to the recipe card at the bottom of the post!
Out of Buttermilk?
Go ahead and add 1 1/2 tablespoons of lemon juice or vinegar, or 2 1/2 teaspoons of cream of tartar to the milk in this recipe. Stir it up and let it sit for 5-10 minutes before proceeding with mixing the batter. The acid will curdle the milk and act as a buttermilk substitute! It works like a charm, even though it looks a little gross when you add it to the batter.
Other buttermilk substitutes include:
- Buttermilk powder & milk (or water)
- A 3:1 ratio of sour cream & milk (or water)
- A 3:1 ratio of plain yogurt & milk (or water)
- Kefir
- Plant milks + acid of your choice
- Lactose-free milk + acid of your choice
Of course, you can always make this recipe with regular milk as well!
How to make red velvet muffins
- In a mixing bowl, whisk together the flour, cocoa, baking powder, cornstarch, and salt.
- In a separate large bowl, combine the butter, oil, and sugar, whisking well.
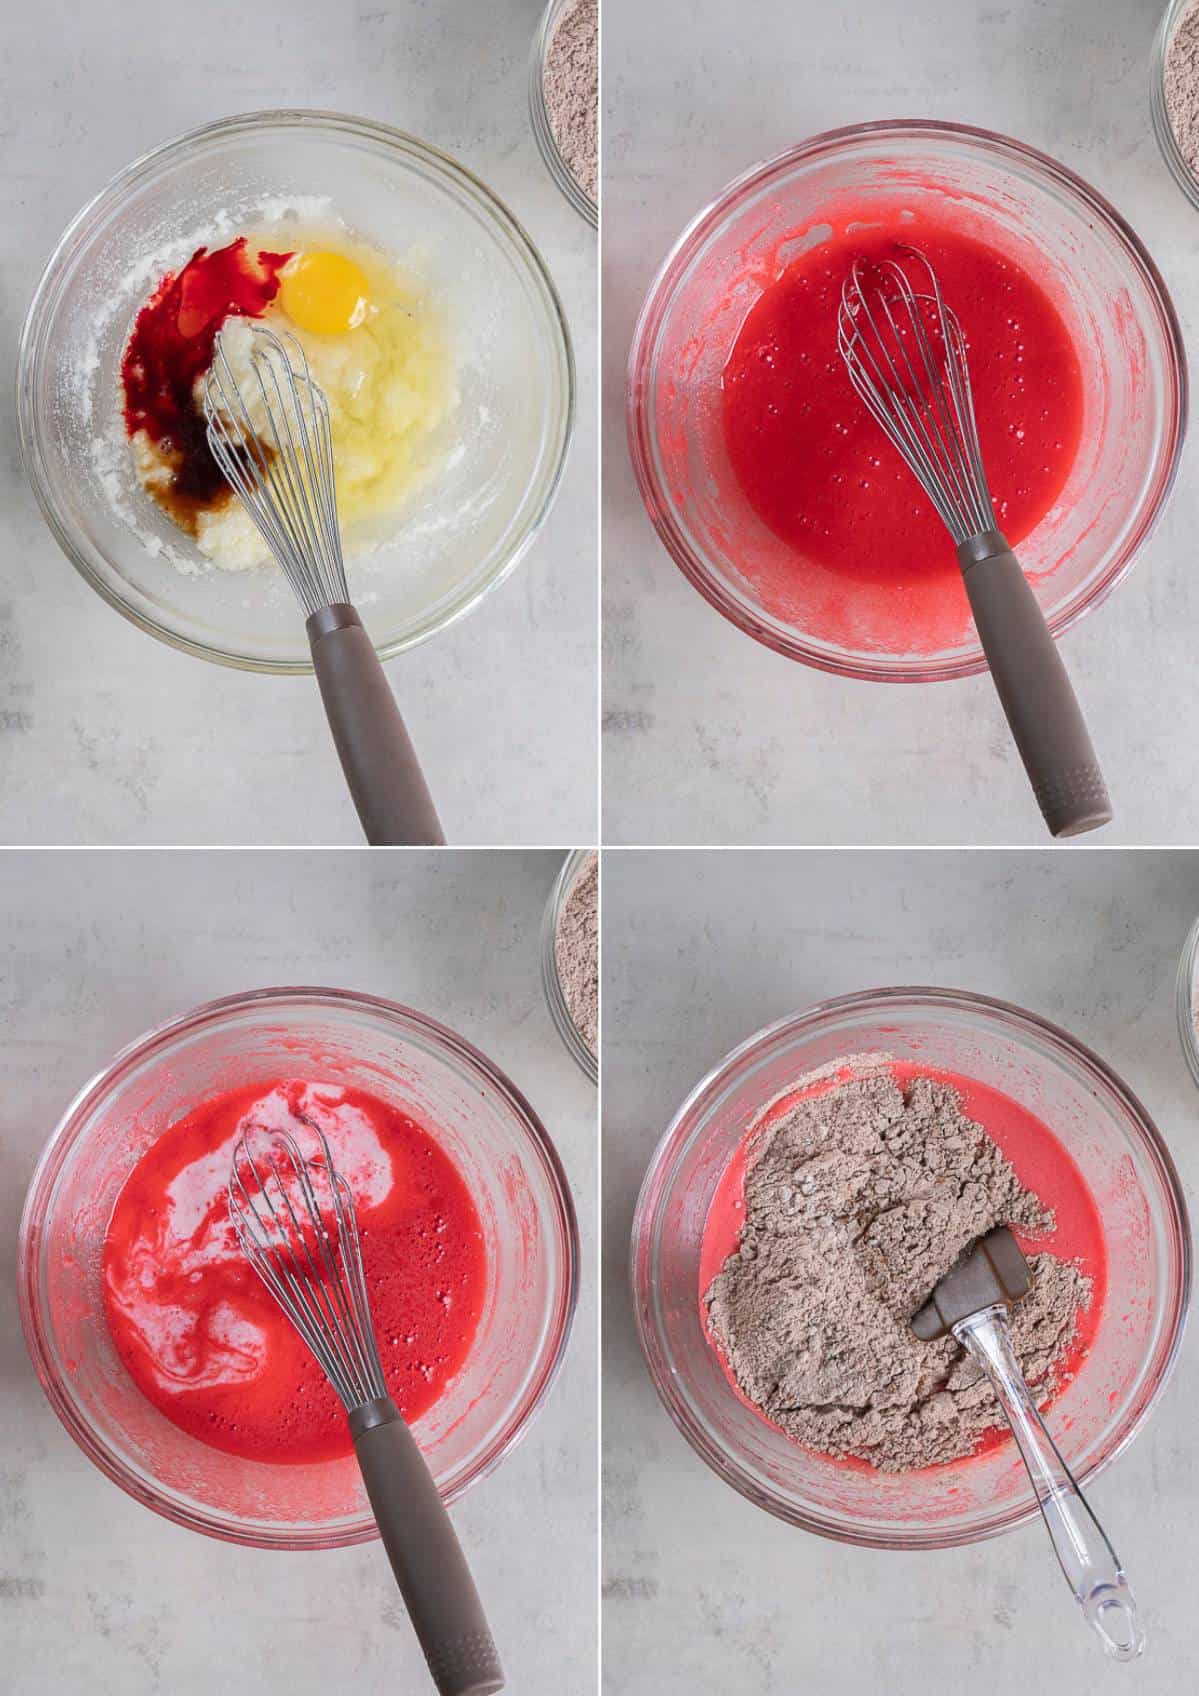
- Add the egg, egg white, food coloring, and vanilla extract. Whisk together thoroughly, until all of the ingredients are well-combined.
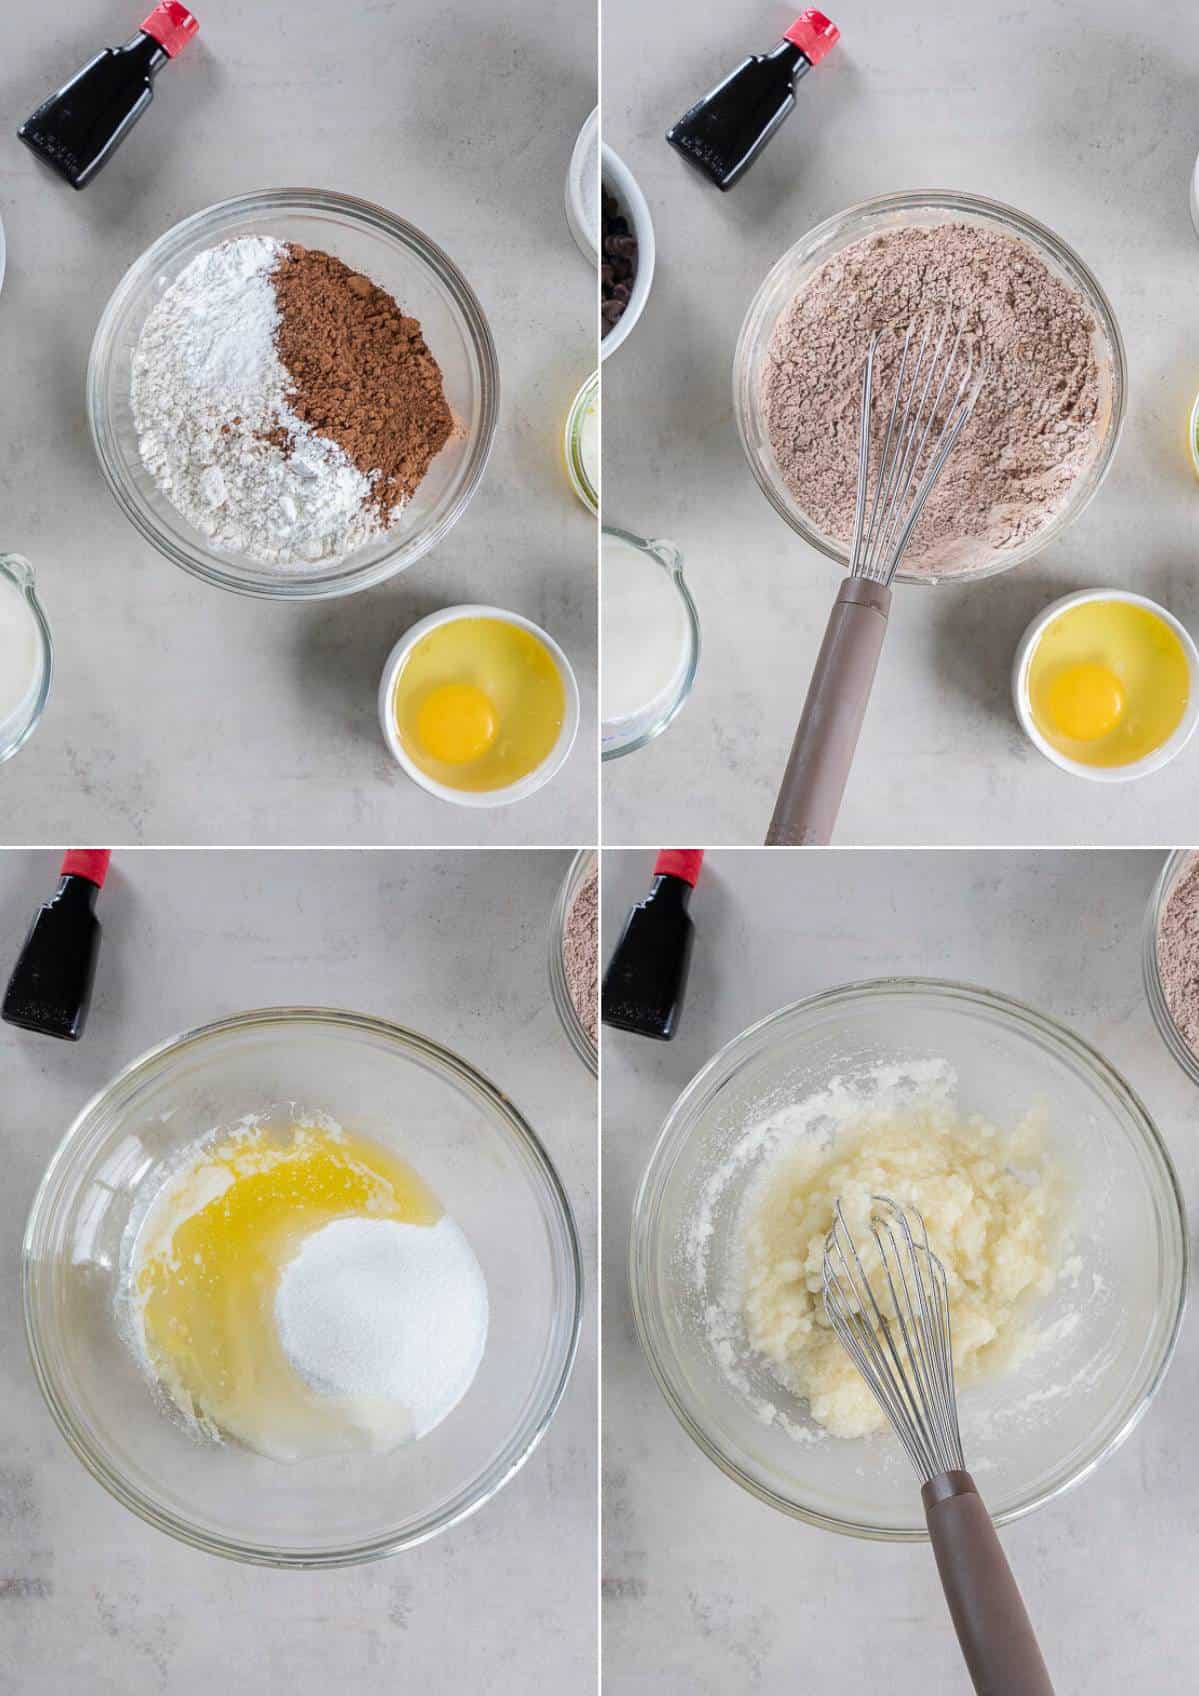
- Whisk in the buttermilk until combined.
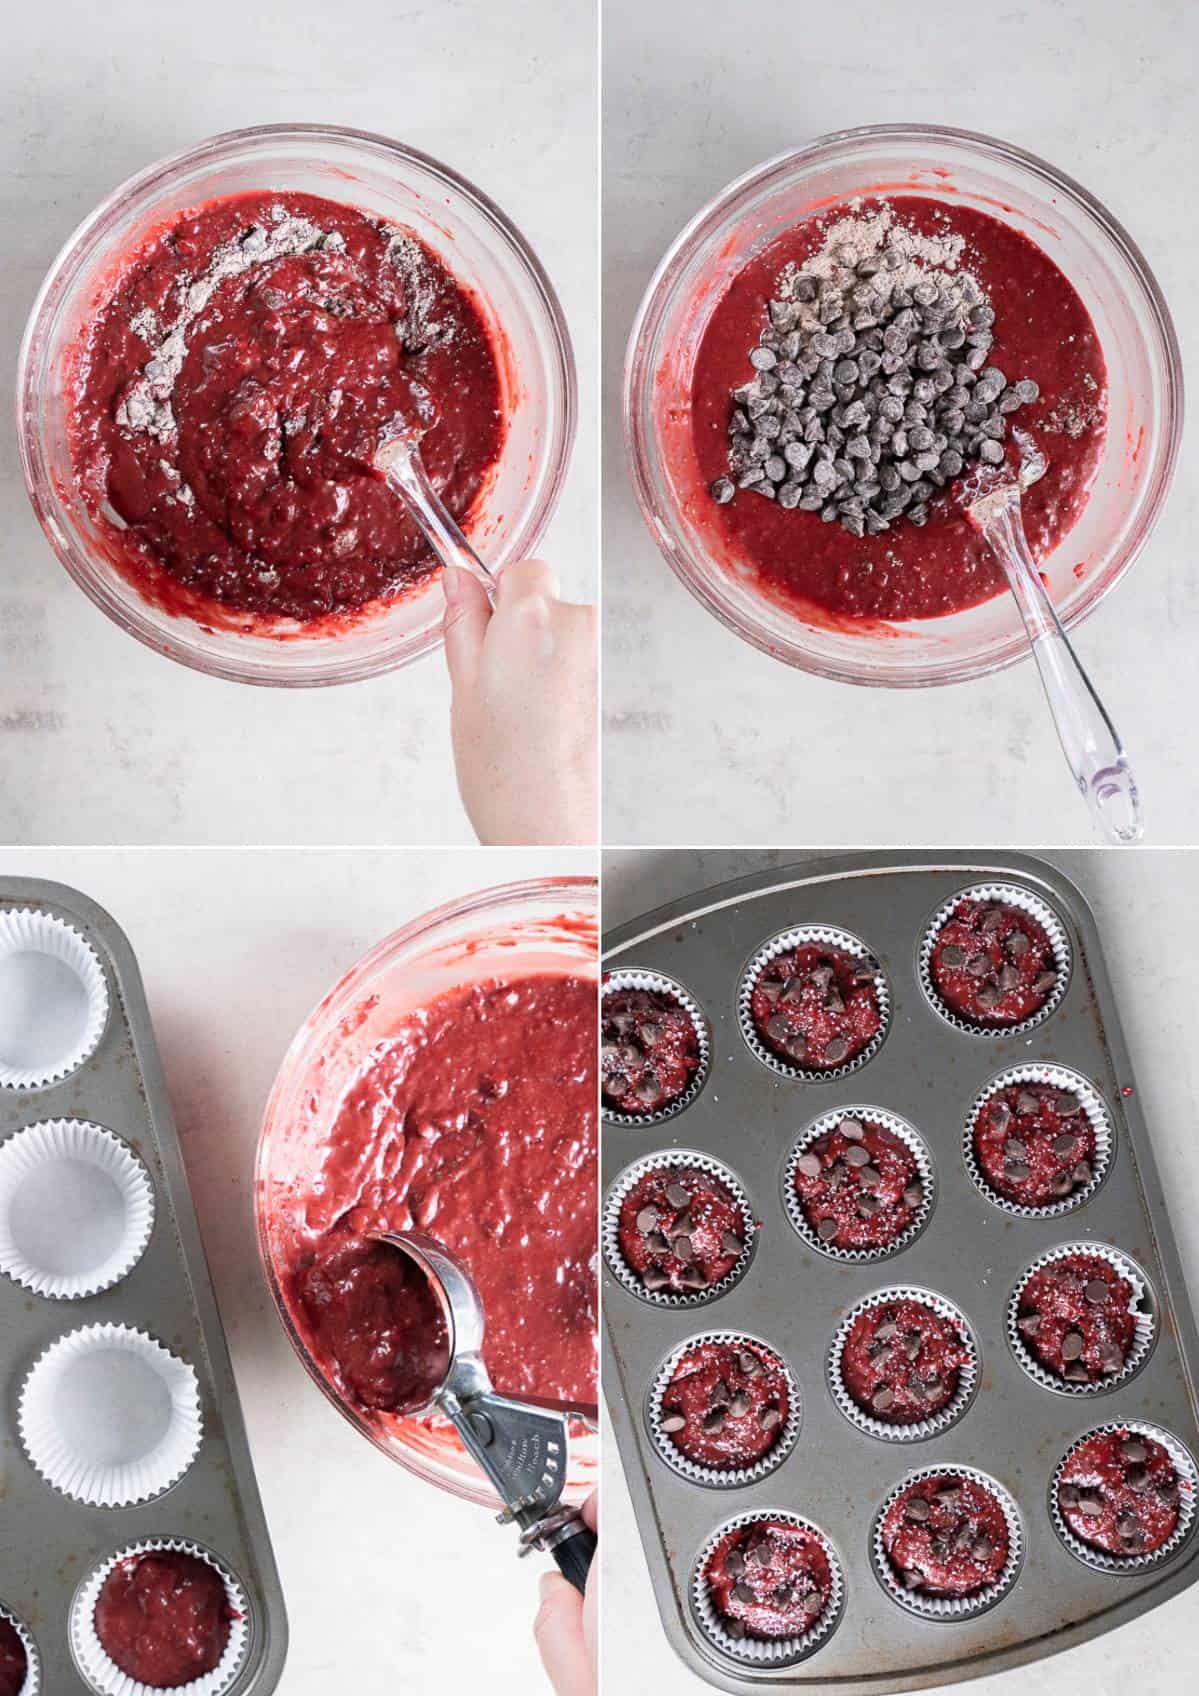
- Gently fold the dry ingredients into the wet ingredients until just combined with some flour streaks remaining. Add the chocolate chips and continue to fold the batter until all ingredients are just combined, being sure not to overmix.
- Cover the bowl with a clean kitchen towel and allow the batter to rest for 30-60 minutes.
- Meanwhile, preheat the oven to 425 degrees F (215C). Line a 12-count muffin pan with paper liners, or grease the cavities with baking spray.
- Once the oven has preheated and you’re ready to bake, divide the batter into the liners, filling each tin all the way to the top without overflowing. Sprinkle the tops generously with additional chocolate chips and sparkling sugar, if desired.
- Bake for 5 minutes and then immediately reduce the oven temperature to 350 degrees F (175C) and continue baking for 10-12 more minutes, or until a toothpick inserted comes out with no wet crumbs.
- Remove the pan to a cooling rack and allow the muffins to cool for 5-10 minutes, then transfer them to the cooling rack to cool completely.
FAQ
Can I add a cream cheese swirl to these muffins?
Of course! Follow the directions on making the cheesecake filling in this recipe and dollop some in for a true red velvet treat!
Do I have to use food coloring in red velvet muffins?
Nope! You can definitely leave it out of the recipe, your red will just be more of a ruddy brown color – but the flavor will stay the same.
Some companies make all natural food dyes, which work well, you will just need more dye to achieve a nice red color. You could also try powdered beetroot or beet juice, but I have no experience with these and can’t speak on a flavor change.
How long do red velvet muffins last? Can I freeze them?
Red velvet muffins can typically be stored at room temperature in an airtight container (like a plastic zipper bag) for 2-3 days. You can also refrigerate them for up to 5 days. For longer-term storage, you can freeze the muffins for up to 2-3 months. When ready to enjoy, thaw them at room temperature or warm them slightly in the oven before serving.
If you’re a red velvet lover (like I am!), try my favorite Red Velvet Cupcakes with the best whipped cream cheese frosting! You might also enjoy these Peppermint Red Velvet Macarons or a Red Velvet Eggnog Cheesecake Trifle. If your craving is for a smaller batch of delicious, these Red Velvet Swirl Skillet Brownies are perfect!
More tasty muffin recipes to try!
If you love this recipe, please consider leaving a 5 STAR RATING! If you really love it, leave us a comment and let us know – we appreciate all forms of feedback!
LET’S CONNECT!
Join in on the fun in our Facebook group! Feel free to share YOUR favorite recipes, ask questions, help out your fellow home cooks, and see what’s new with The Crumby Kitchen (so that you never miss a new recipe)! If you’d like to check it out, you can request to join HERE.
Also, don’t forget to follow us on Instagram and tag #crumbykitchen so we can see all the wonderful recipes YOU recreate from this site!
You can also enjoy exclusive content before anyone else by subscribing to our weekly newsletter – and you’ll never miss a delicious recipe again!

Red Velvet Muffins
Ingredients
- ¼ cup unsalted butter melted and slightly cooled
- ¼ cup vegetable oil
- 1 cup granulated sugar
- 1 large egg room temperature
- 1 egg white room temperature
- ½ tablespoon red food coloring
- 2 teaspoons vanilla extract
- ½ cup buttermilk room temperature
- 1 ½ cups all-purpose flour
- ¼ cup cocoa powder
- 2 teaspoons baking powder
- 2 teaspoons cornstarch
- ½ teaspoon salt
- 1 cup chocolate chips optional
Instructions
- In a large bowl, combine the butter, oil, and sugar, whisking well.
- Add the egg, egg white, food coloring, and vanilla extract. Whisk together thoroughly, until all ingredients are well-combined. Whisk in the buttermilk until combined.
- In a separate bowl, whisk together the flour, cocoa, baking powder, cornstarch, and salt.
- Gently fold the dry ingredients into the wet ingredients until just combined with some flour streaks remaining. Add the chocolate chips and continue to fold the batter until all ingredients are just combined, being sure not to overmix.
- Cover the bowl with a clean kitchen towel and allow the batter to rest for 30-60 minutes.
- Meanwhile, preheat the oven to 425 degrees F (215C). Line a 12-count muffin pan with paper liners, or grease the cavities with baking spray.
- Once the oven has preheated and you're ready to bake, divide the batter into the liners, filling each tin all the way to the top without overflowing. Sprinkle the tops generously with additional chocolate chips and sparkling sugar, if desired.
- Bake for 5 minutes and then immediately reduce the oven temperature to 350 degrees F (175C) and continue baking for 10-12 more minutes, or until a toothpick inserted comes out with no wet crumbs.
- Remove the pan to a cooling rack and allow the muffins to cool for 5-10 minutes, then transfer them to the cooling rack to cool completely.









Sharon says
This was my first time making red velvet anything and it turned out so good! We loooooved these muffins – even as breakfast. 😉 Couldn’t resist! Hahaha. We will make this recipe again for sure.
Sage Scott says
I would describe these decadent red velvet muffins as red velvet cupcakes minus any icing. And, the chocolate cake-y part of red velvet cupcake is my favorite anyway, so win/win! Can’t wait to make these again!
Lisa says
The chocolate chips were a nice change from the cream cheese frosting in these tasty red velvet muffins. My family devoured them.
Sue says
This is truly an indulgent breakfast, these muffins are absolutely amazing. I think you’ve spoiled me for any other muffins!
Jan says
I love the colour of these, they are so playful. The taste was delicious too. I am glad for no frosting, as I tend to always take it off anyway. Yummo!
Anne says
Knocked out a batch of these today. They’re vibrant, chocolatey, and just plain good. These are perfect for brunch, I’m planning to make them again for Father’s Day next week!